
The Simplest Ways to Make the Best of Changing a Background for Dramatic effect in Photoshop
Today we will show how we can create a dramatic background through Photoshop. Also we will show how we can Brush Tool in long hair. We will create Dramatic Background by using Adjustment Layer, Color and other techniques.
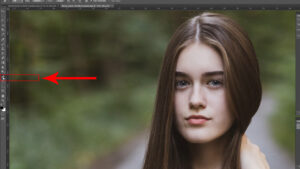
So let’s start, First we will open two images in Photoshop. One is main image and the other is background image.Now we will cut out main image by using Pen Tool (P) of Photoshop.
We will take a Duplicate Layer by pressing Ctrl + J and by holding Ctrl click on path to select an image. After selecting the image we have to input Select> Modify> Feather> with 0.5 again from the menu bar click on Select> Refine Edge and press Ctrl + Alt + R then get back to the refine edge.
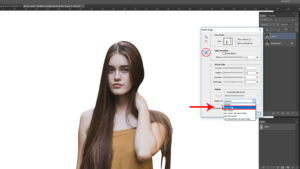
We will refine the image. To refine we will use Brush Tool of Refine Edge and refine the hairs only. We will select Layer Mask from output option.
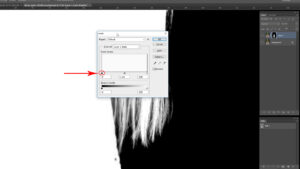
Purpose of Refining:
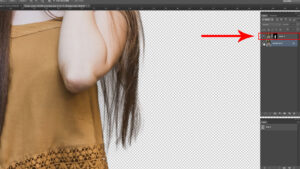
The goal of refining is to make the background transparent while preserving the original image. If we make the lower background invisible then the image background will be transparent and any solid color can be used or any other color can be used. Refine Edge plays an important role to make the background transparent. We are showing it now with Solid White background. Even though using solid background is not necessary. It is because we will use another image as a background.
The uses of Background Image:
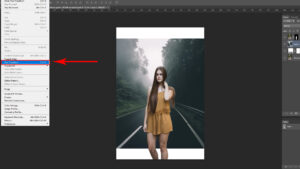
We opened two images in Photoshop. The first is the background image, and the second is the main image. Now we will copy Background Image and bring it to the Main image and from top of the image we will click on right button then click on Convert to Smart Object.

If an image is converted into Smart Object then the image will not be broken when adjusting the resolution. Then, keep the smart objected image below the masked layer, and from the menu bar, select Edit > Free Transform (Ctrl + T) to transform the image, then press and hold Alt + Shift to adjust the image size as needed.
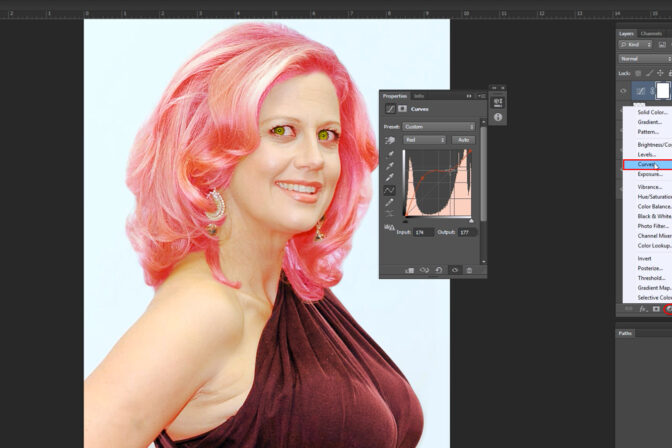
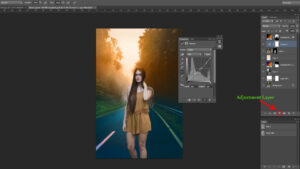
By keeping the upper layer selected we will select Gradient Color from Adjustment layer. After selecting Gradient color we will change blending mood and select color.
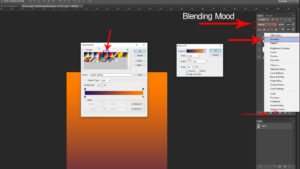
Now we will paint the Layers by Brush Tool of Tool Box. The Layer in which Color Blending mood has been used us will paint upper part of that layer and the Layer in which Saturation Blending mood has been used us will paint lower part of that Layer.

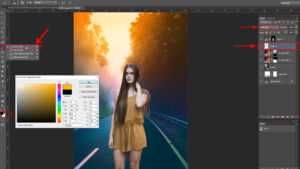
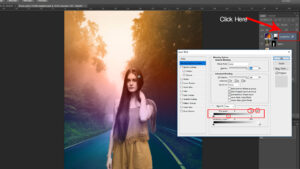
Now by keeping the upper layer selected if we double click on Layer than a Dialogue box will appear in Layer Style. We can see a Bar called this Layer in the below part of the Dialogue Box. The Icon that is in the right side of this bar we will bring that Icon in the right side by pressing and dragging the left button of the mouse.
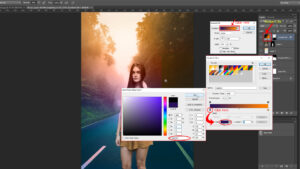
Now if we press and hold Alt and click on Icon then press left button and drag to the right side then the icon will be divided into two parts. By doing this the Effect that we gave earlier will be much smoother. Again by clicking on color of Gradient Fill 1 Layer we will make the Gradient Color Black. Then the effect will be beautiful and natural. If we see the video clip we will understand better of this section.
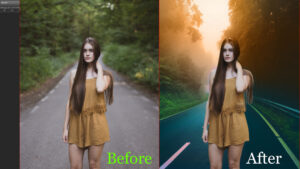
Basically by this way we can convert an image’s background into Dramatic background.