In today’s Tutorial we will see how we can change hair color and eye color and how we can remove Fly-away hair. Only by using some techniques we can change Hair color and Eye color of an image. We will show and follow those techniques. Let’s start viewers. First of all we want to say that, you can do this work by using any version of Photoshop.
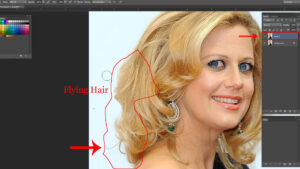
Removing Fly-Away hair
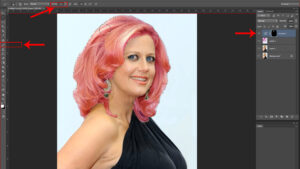
First we will open the image in Photoshop. Now we will copy a layer by pressing Ctrl + J and by selecting Stamp Tool (S) from Tool Box we will remove Fly-away hair of image. If the background is Solid or background remove then we will paint the Fly-away hair slowly with Brush Tool (B) by picking a color.
Changing Hair Color
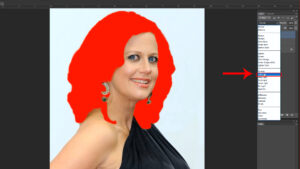
After removing Fly-away hair we will take an empty layer. By keeping Layer-1 selected below the empty Layer select Quick selection tool (w) from tool box and we will select hair only. When we use Quick selection tool (W) we will see some hairs will not selected. To select those hairs we will use Lesso Tool (L).
Now by selecting Layer-2 and by keeping Layer-2 from menu bar we will click Select> Modify> Feather then select 5 Feather and click Ok. Now select color from Swatches color. We are selecting Red color. You can select any color. By pressing Alt + Delete we will fill that color on Empty Layer.
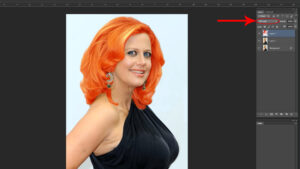
After filling color if we see that some places are not filled with color then we have to paint it with Brush Tool (B).We will change the Blending mood into Soft Light of the Empty Layer. After doing Soft Light the color will be placed in hair instead of Solid color.
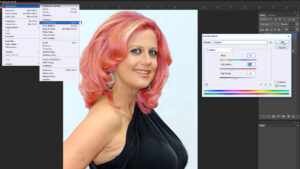
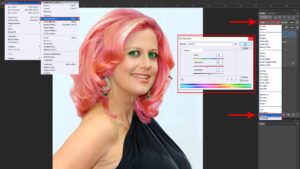
A Color Dialogue Box will appear if we press on image> Adjustment> Hue/ Saturation or (Ctrl + U) from Menu bar. From here we will do color Adjustment as we want to.
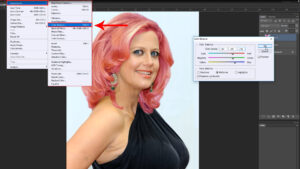
Again in the same way from Menu bar if we press on image> Adjustments> Color Balance or (Ctrl + B) a Color Balance Dialogue box will appear. We will smooth the color a little by this Dialogue box.
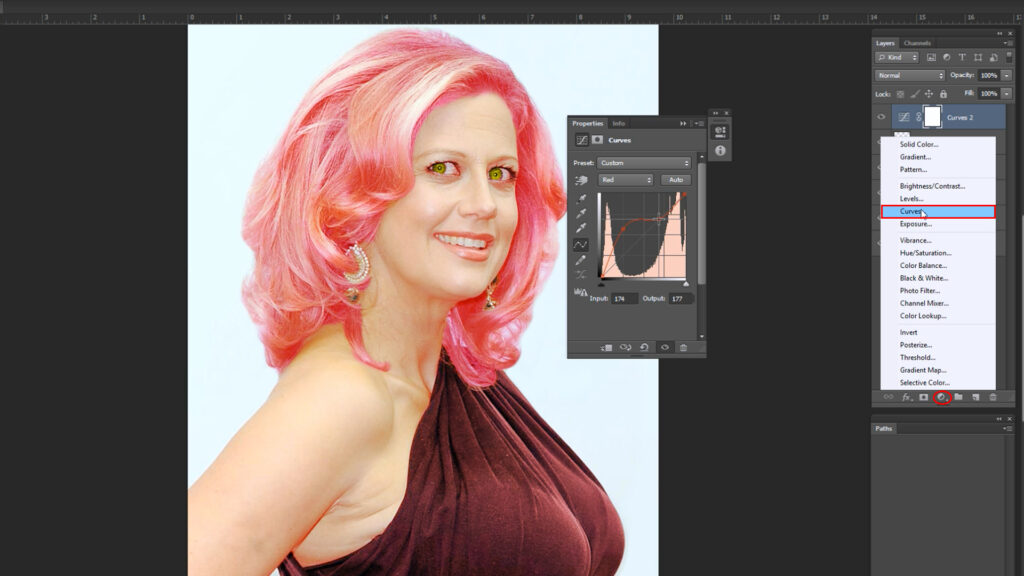
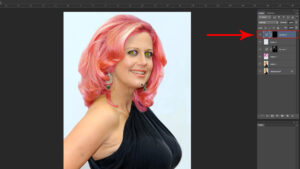
Hair color changed a lot than before. To make this hair color more highlighted and stunning we will use color Adjustment Layer. We will click on Curve from Color Adjustment Layer. A Color Properties of Curve will appear in Dialogue box.
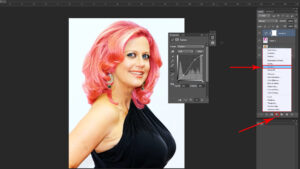
In the middle of the Dialogue box there is a thin line we have to click on that line and lift it upward. Then the color will be bright. Now if we click once again and drag downwards a little bit then the color will be dark. We have to highlight it as per requirement. Now we have to invert the Layer by pressing Ctrl +I. By selecting Brush Tool (B) and pressing D in keyboard we will make the Foreground and Background color default. We will select the hair by clicking Ctrl + in the layer below the Curve Layer. By keeping the Hair selected make the Brush Tool (B) opacity 20% then the areas where highlighting is needed we have to paint those areas slowly in the inverted layer.
If we make the Layer Visible & Invisible we will see the highlight areas.
Changing Eye Color
Now we will change the Eye color. From Layer Option or by pressing Ctrl + Shift + N we will take an empty layer. Select Brush Tool (B) then we will pick a color from Swatches color. If the Swatches color is not available then if you click on Window > Swatches from Menu bar a Dialogue box will appear. The Brush Tool Opacity and Hardness will be 100%. By making the Brush Tool small and keeping the empty layer selected we will click on the Eye Ball. Now we can see the Eye Ball color is solid.
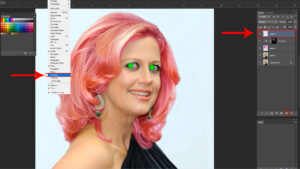
We have to change the Normal mood into Color mood of Blending mood option in the Layer. Now the Eye color is changed. We will decrease Hue by Adjustments > Hue / Saturation (Ctrl + U) from the Menu bar, decrease the Saturation and increase lightness a little bit.
We will select Curve color from Color Adjustment of Layer. From Properties we will increase RGB color and we will increase Red color a little bit by selecting it.

We will invert the Curve Layer by pressing Ctrl + I as before. By using 100% Opacity of Brush Tool we will paint in the Eye Ball only.
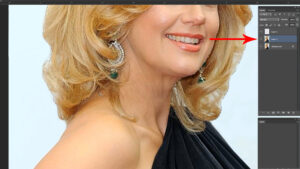
After finishing painting in the Eye Ball we will see the Before Color and After Color by doing the Layer Visible and Invisible. If the color looks more or less, we can reduce or decrease the color by double clicking on the Curves Layer.This is the result-
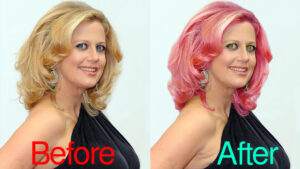
Like this we can remove an images Fly-away hair, change hair color and eye color.