Today we will show you a new task of Photoshop CC. How to make the sky blue in Photoshop CC easily and quickly. Through this tutorial you can easily convert your image background from white sky to blue sky.
We will show you step by step. So let’s start-
Step 01. Open Image
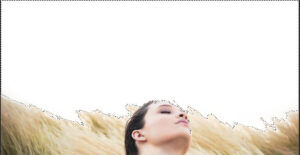
Open the image on Photoshop which you want to convert the sky color in to blue sky.
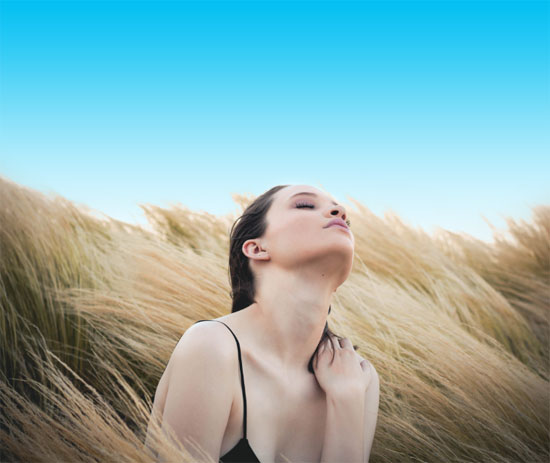
The image we opened on Photoshop that images sky is completely white.
Result
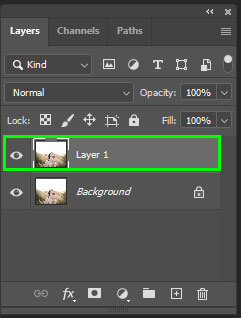
Step 02. Duplicate Layer
Press Ctrl+ j from keyboard to take a Duplicate layer from Background layer.
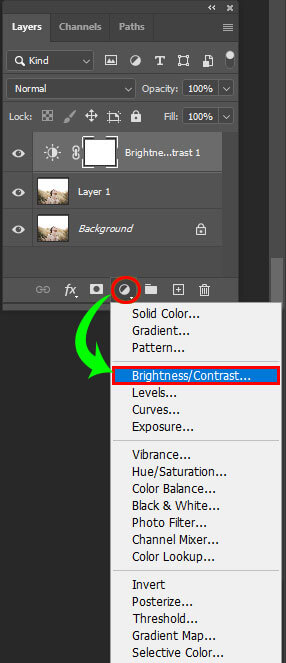
Step 03. Increase Brightness
Click on Brightness/contrast of Duplicate layer from Create new fill or adjustment layer of layer panel.
One Properties Dialogue box will appear. Now we will increase Brightness/ Contrast as per requirement.
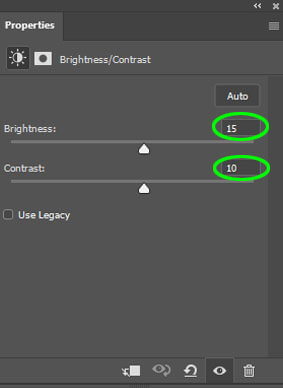
The part of sky which is white including that part the whole sky will be light. Little white color sky will be completely white.
Step 04. Layer Merge
Press Ctrl from keyboard then click on Layer 1 and Brightness/ Contrast 1 just once to select both layers together.
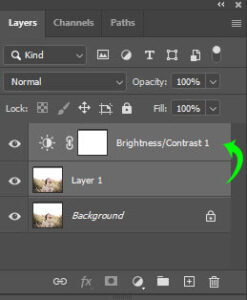
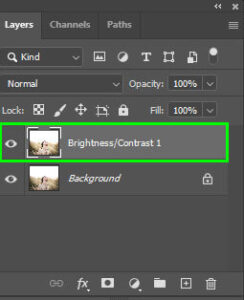
Now press Ctrl+ E to merge the layers. There will be a layer called Brightness/ Contrast 1.
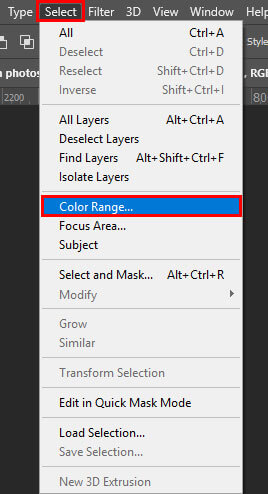
Step 05. Color Range
Click on select then click on Color Range from Photoshop Menu bar.
A dialogue box will appear. Keep the Sampled Colors selected from here. Select Eye Dropper tool from below then drag the computer mouse on those parts which you want to select. Our targeted area is sky. So we will drag the computer mouse on sky. If any area is being selected rather than sky then we have to minus that area by using Minus Eye Dropper tool.
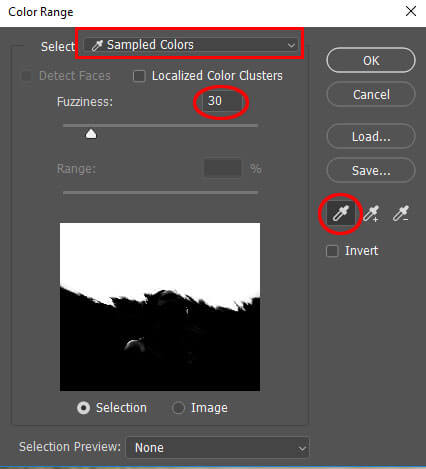
Decrease the value of Fuzziness. By this way selected and deselected area will be divided. Now press Ok.
Our targeted area is being selected
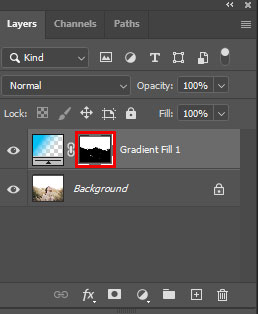
Step 06. Use the Gradient Fill
We will use a little Feather in Selected area. We will click Select> Modify> Feather from menu bar.
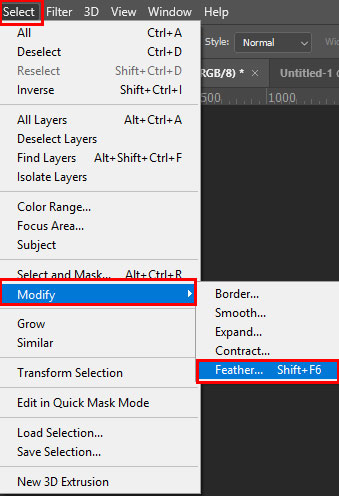
We will use Feather Radius value 1 pixel and press Ok.
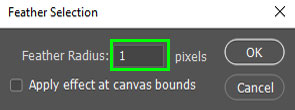
By this way selected edges will be a bit smoother
We will select Gradient Fill color from adjustment option of Layer Panel. All those will be in upper layer.
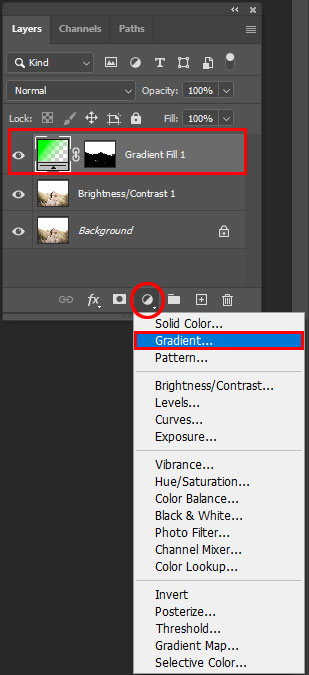
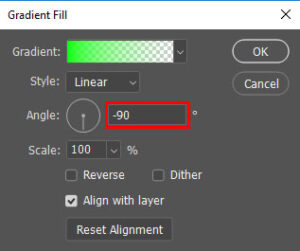
Step 07. Gradient Fill set
Set Angle -90 from dialogue box of Gradient fill.
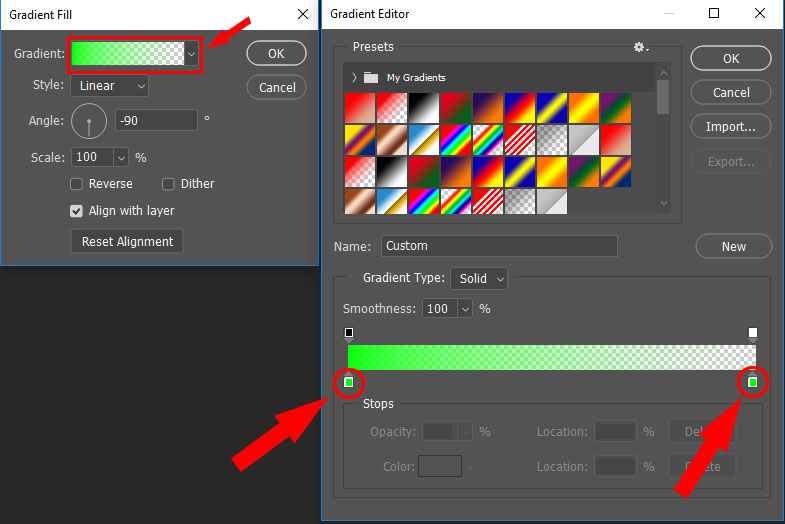
Step 08 Gradient Fill color set
If we click right side gradient then another gradient editor dialogue box will appear.
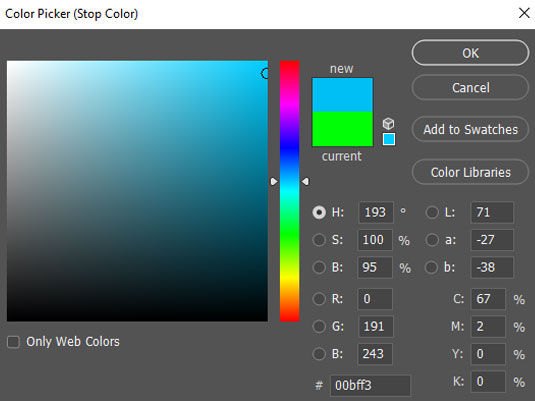
Select any transparent gradient fill color from Gradient editor dialogue box. From below select Left slider of Gradient and double click on slider. Now select sky color.
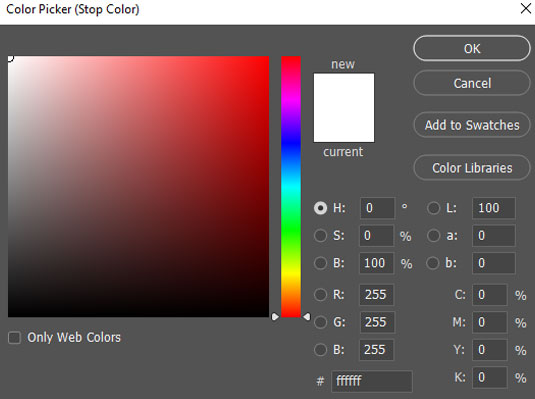
Now in the same way select the Right slider then double click. Select white color on that.
Now select Ok for every dialogue box.
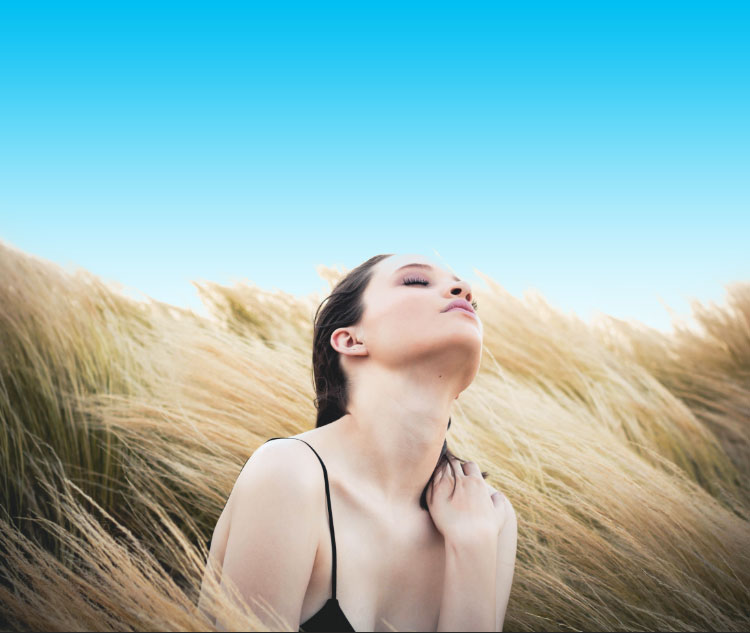
Image will look like this
Step 09 Delete Layer
We used Brightness/ Contrast color in upper layer of background layer. Now we will delete that layer.
Reason for deleting that layer is we will not change the color of main subject. We did Brightness/ contrast just to do color range easily.
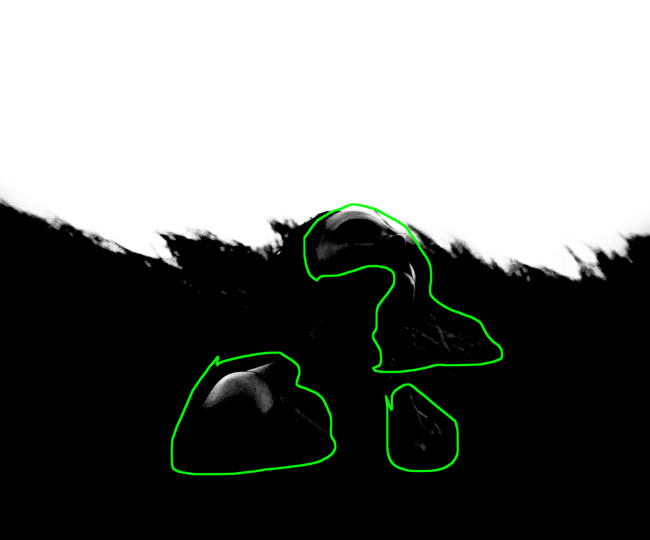
Step 10 Remove the color effect
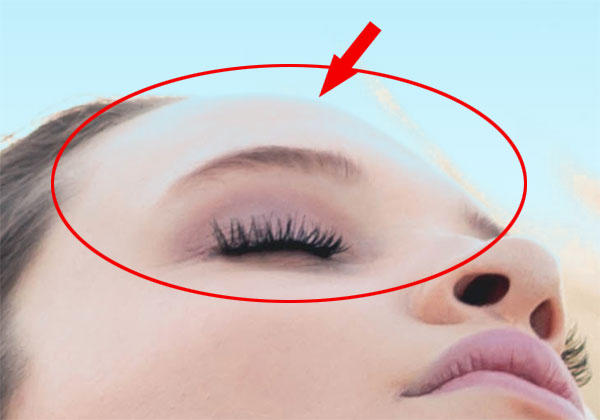
While we were doing color range other areas are also selected with targeted area. For example selection was done on skin also. While we were using gradient fill color the effects were also visible on skin.
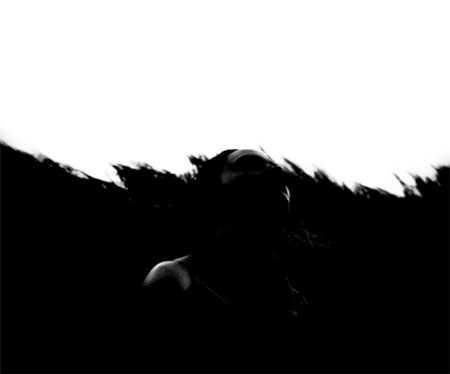
Press Alt from keyboard and click on mask icon of gradient fill color layer.
Black and white color image will appear.
Now select Brush tool (B) from Tool box.

Use opacity and flow 100% of Brush tool (B).

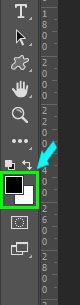
Press D from keyboard and make the Foreground and Background color 100% black and white.
The parts where Color range or gradient effect has fallen without sky on that parts white spots are now visible.
Now press Alt and return to previous place. Gradient fill color effect will be removed.
Step 10 Final
Finally the image will be look like this. If you feel that sky color is more or less, then you can adjust color as you want.

From Above tutorial you learnt, How to make the sky blue in Photoshop CC easily. Besides that you can learn creating a dramatic landscape with Light room and Photoshop, 19 Photoshop Effective Tips and Tricks.