
Round Panorama or Spherical Panorama
Panoramic is a Photography technique, in which an image is converted into 360 degree by organizing the image in a sequence, by using special equipment and software. Sometimes this Photography is known as renowned Photography.Today we will show how we can create Round panorama or Spherical panorama in Photoshop.Basically to create Panorama group image is needed.
Step- 1
High resolution images in Photoshop
First to create panorama we have to open our high resolution images in Photoshop. The images will be open in Camera raw filter before opening in Photoshop.These images are in DNG File Format. There will be no problem if the file is in Tif or JPEG File Format besides DNG File Format. The advantage of DNG File Format is when we open a file the file will be directly open in Camera raw. We have to set up Camera raw filter if the file is in Tif or JPEG File Format.
We will correct color of all images from Camera raw.
Step- 2
We will select all images by clicking on the Select All Button from the left side images and click on Open images Button. Then all images will be open in Photoshop together.
Step- 3
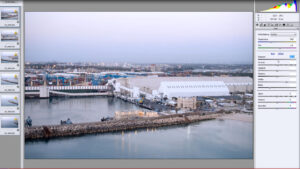
File automate
We will click on File> Automate> Photo merge from menu bar of Photoshop. A Dialogue Box of Photo merge will appear on which we have to do some settings. First when we see at the Layout we will notice Auto Select is already selected, we have to change that and select Spherical.We have to keep files selected from top upper left side Source File. You can show source file by clicking on Browse. All files of a batch will be shown below. If want you can also select Folder.As we opened all files of a Batch in Photoshop so we will click on Add open files. Then all files will be shown here.
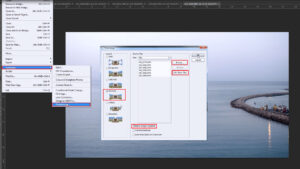
We have keep on Checking Blend Images Together below. Then OK.
Step- 4
Layer masked
We have to wait for sometime before all images are processed. Mainly images will be Process in three ways. After Process all images will be Merge together and all image Layer will be Layer masked.
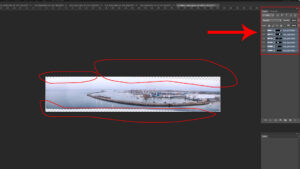
By making Layer Visible an Invisible we can see their position.
Step- 5
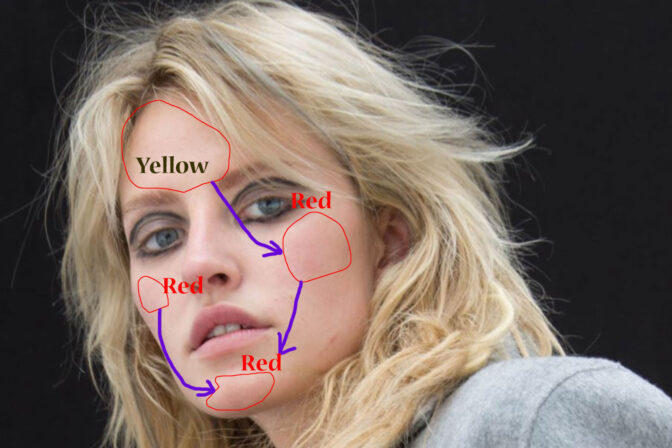
Image Retouch and Liquefy
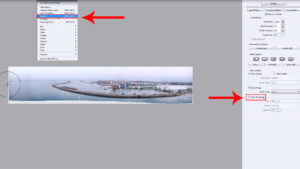
After completing image processing we will see transparent around or at any side of the image. Because all images merge automatically together it didn’t adjust perfectly in all places. The empty or transparent places around the image we have to match those places by doing Image Retouch or Liquefy.
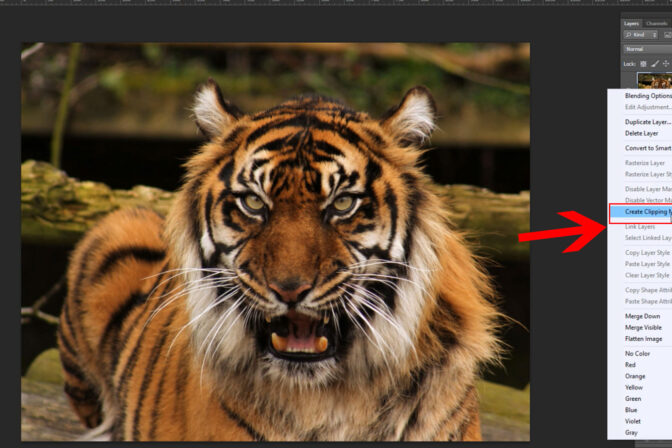
Step- 6
By pressing Ctrl + Alt + Shift + E we will merge all layers together and convert into one layer. Liquefy the layer by pressing Ctrl + Shift + X. Remove Show Backdrop Check after Liquefying then press Forward Warp Tool (W) and drag to fill up transparent areas.
Step- 7
Fill Up Transparent areas
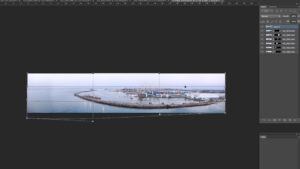
Because of doing Liquefy an image can be Blur or Texture can be damaged.We have to Liquefy the image by not making it Blur or not damaging the Texture as much as possible. If it is not possible to Fill Up Transparent areas by using Liquefy then from menu bar select Edit > Free Transform (Ctrl + T) and click right button of the mouse to Warp the image. After warping we have to drag the image to Fill Up Transparent areas.
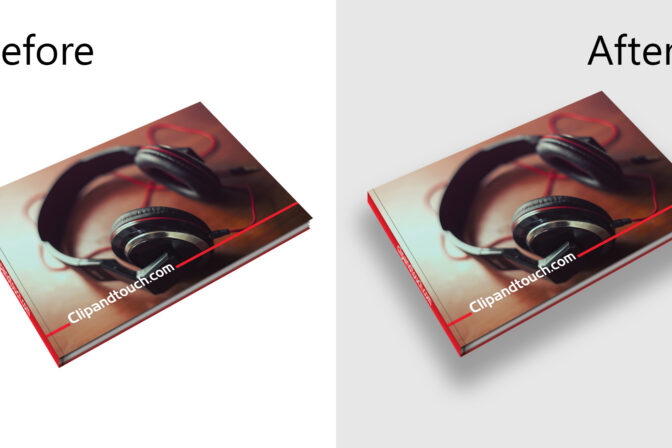
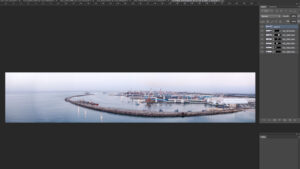
Step- 8
Clearing Height & Weight
We will Crop the image by using Crop Tool. We will not mention Height & Weight during Cropping. We will Crop the image by clearing Height & Weight.
We will save the image in JPEG format. We can see the Final image by uploading it in Facebook or opening it in any Photo Viewer.