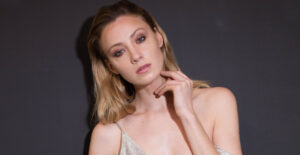
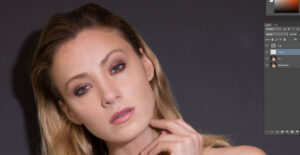
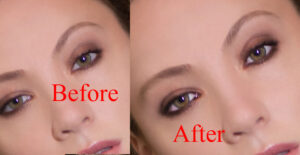
Model Beauty Retouching is the most popular application of Adobe Photoshop which is widely used
Model Beauty Retouching is a very complex and popular artery. In this tutorial we will show how to retouch the beauty of all types of models through Photoshop.Specifically usage of adjustment layer-alighting dosing and burning. However, there must be frequency separation before that. Frequency Separation Separator creates spectacular or beautiful skin tones and textures.
First step:
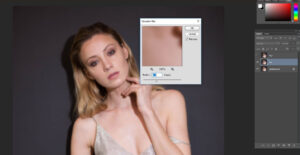
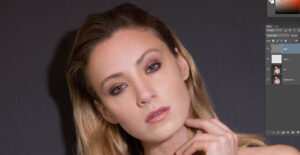
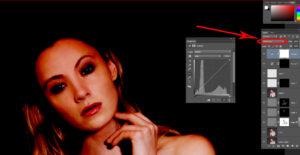
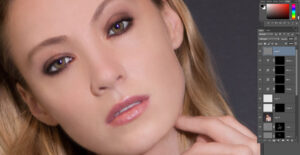
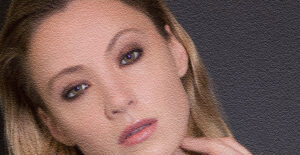
We start with a camera file or a high quality image. In this case, the camera file has been converted to psd file. Lighting is one of the most important topics in photography. If you want the space of the shadow to be brighter with light you must definitely clean the whole skin.
Skin tone for Frequency Separation:
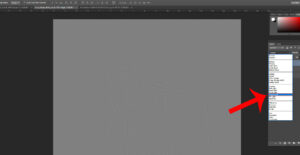
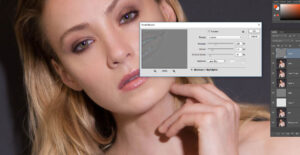
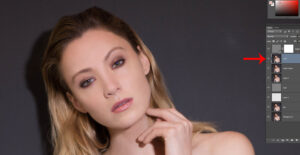
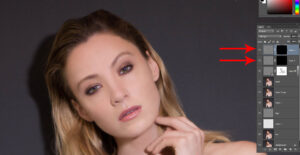
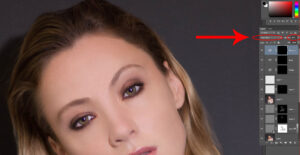
First, copy two layers from the background layer with CTRL + J. After that you have to rename Layer 2. The first layer on the background layer will be named Low, and its top layer is named High Layer. Now, at the top, it will remain invisible and in the lower layer, use the Gaussian Blur from the filter options in the menu bar above. . By default we will use Gaussian Blur 7-8.
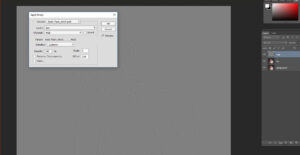
Then, after viewing the High layer, select the menu bar image> Apply image> Then Layer> Low Select, Blending> Subtract, Scale-2 Offset 128, Opacity-100%, and then OK.
Now with the selection of the high laser, change the blending mood of the layer and select linear light. Now we can remove the skin smile and skin blemish.
Skin Color Smooth:
Using the healing brush or clone stamp, select the low layer and increase the light of the darker part of the eye. Actually, he is sure that his skin texture will be fine.

Smoothing other parts of the skin:
To smooth the other parts of the skin, take a thick layer under the high layer and select brush and select Alt from the color and brush the opacity to 12%. Highlight and whole dark part of the image should be adjusted naturally.
Skin hair removal and blemishes Removal:
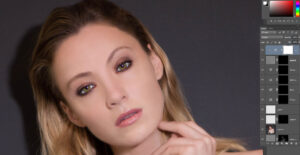
Select High layer and healing brush or patch tool to remove skin hair and blemishes. Keep a special focus when using the healing brush tool. Select “Current layer” from the top bar or else it will come in another color. Below are the results-
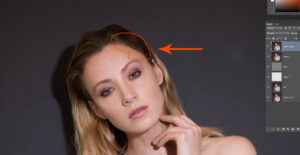
Hair fill up:
After removing the blemishes, press CTRL + SHIFT + Alt + E to create a new layer. Then take the copy layer with another CTRL + J. The purpose of copy layer is to see after and before. If any part of the hair of the head is empty, then it will be flushed. After cutting hair from another place using the Leso tool, press Alt and click on Layer Mask. Let’s merge the layer with CTRL + E.
Frequency separation:
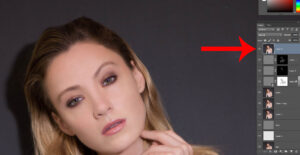
For separation of frequency, rename the Layer to Low1 and High1, and repeat the Frequency separation using the previous method. In Low 1, Gaussian Blur and then displaying High1 Layer, select Menu> image> Apply> Layer> Low1, Blending> Subtract, Scale-2 Offset 128, Opacity-100%, and then OK. Then we will use the High1 layer as a Smart Object and use the Smart sharpen. Smart sharpen will have amount of 156%, Radius-1.2 and Reduce noise 10px then Ok.
Skipping the tone smoothing:
Select the Low 1 layer and brush it with a brush tool using 10% opacity. Keep the shadow thin and smaller so the light is natural and will be naturally highlighted.
Skin Baller:
We will reduce the complete skin exposure and to reduce the data, select our High 1 layer and make the layer mask. Then use the brush tool on the layer mask using the Opacity 10% brush tool. When using brush tool, there will be four ground Color Correction like color black and white.
Fresh Skin Texture:
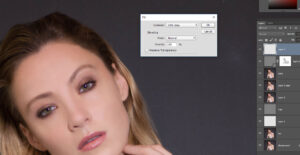
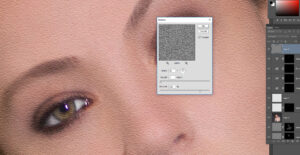
To create Faces Skin Texture, first take a flat layer. Then press Shift + F5 to select the background 50% gray and Ok. Now Filter> Noise> Add Noise Amount 25% from here, “Uniform” and Monochromatic Tick Symbol.
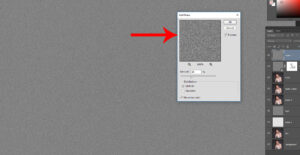
Then select Filter> stylize> Emboss-Angel 85%, Height 2 px and Amount 200% and change the Mood to “soft light”.

To increase the skin texture:
To increase the skin texture; make another copy of the texture layer. Then edit> Free Transform and weigh 200% weight. Now we will mask the black layer separately with the layer and the layer below it.
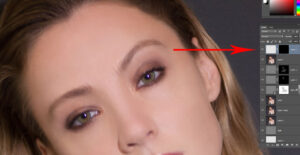
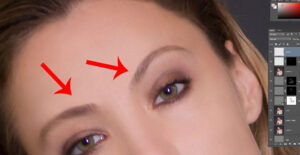
Eyebrow Retouch:
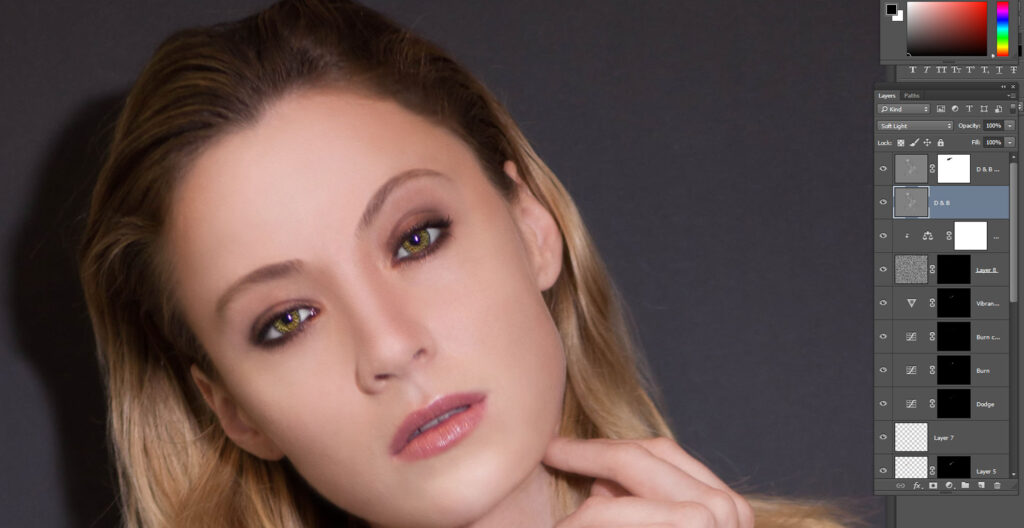
Eyebrow is the most important thing. Press Ctrl + Alt + Shift + E to merge all the layers into a layer.
Then use the Lesso tool (l) to select a skin near the eyebrows, select> Modify> Feather 7 click Ok. Now the selection space will be cut with Ctrl + J. Then there will be a different layer. To remove the cutting layer from the keyboard, press the Move tool and drag some layer to the bottom and the layer will have to mask the black layer. Then use the Brush tool to fix the eyebrows from the layer mask with 50% Opacity.
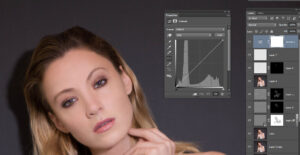
Eye touch up:
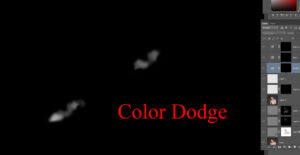
Use of Dodge and Burning in the eye:
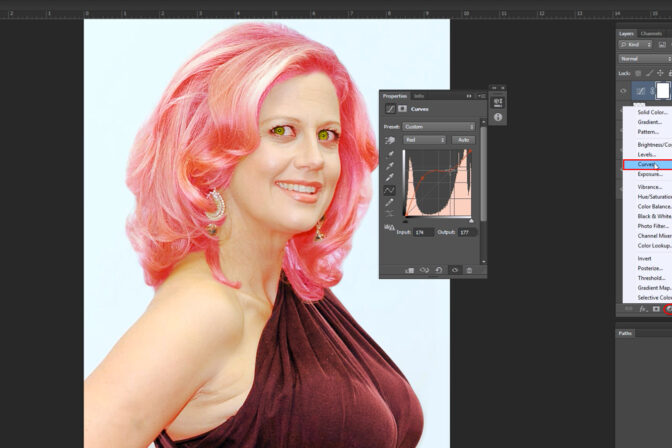
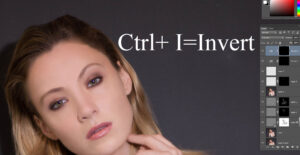
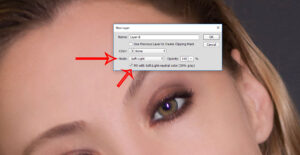
Create a Curve Layer from the Curve Adjustment Layer, change its blended mood, color dodge and invert the cursor layer with Ctrl + I.
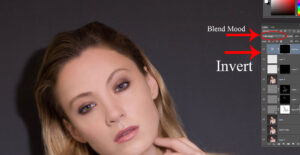
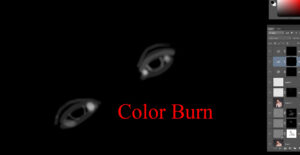
Likewise, take a carrot layer that has a blending mode called “color burn”.
Then I will invert by pressing Ctrl + I.
Paint should be done with the brush tool. Color Dodge is Light and Color Burn is Dork. Results of Color Dodge and Color Burn.
To make eye lashes natural again, using the Curve Layer, it will burn its Branding mode and paint it gradually using the Brush Tool’s Opacity 100%, Hardbess 0%, size 2px. When paint is finished, give 80% opacity to the layer.
Now the white part of the eye does not seem natural. The reason is that the color is slightly reddish. Use Vibrance color to remove reddishness. In this case we used Vibrance-71. You can increase or decrease it.
Press Ctrl + I to Invert it. Then paint the opacity of the Brush tool using 100%. Only paint the white part of the eye.

Teeth whitening:
Press Ctrl + Shift + N to whiten a new layer tab and select the Mood-soft light from below and tick the box below.
A layer of 50% gray background will be created. Now using the Dodge tool, you need to paint only the teeth. In this case, the Opacity of the Dodge tool will be 15%.
Eyeball:
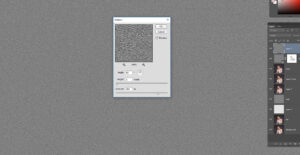
We can use different methods to make eyebrows. Today I will show you a new method. Press Ctrl + Shift + N, a new layer tab will come from the Mood-soft light and tick the box below.Then Filter> Noise> Add Noise- Amount 25%, “Unifform” & Monochromatic tick Ok.
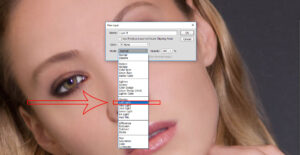
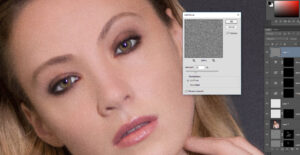
Image Then Filter> stylize> Emboss-Angel 85%, Height 2px and Amount 200%.
Then edit> Free Transform and weigh 300% weight from the top bar. After the free transform it will come.
Now click on the layer and hold Alt and click on the mask and the black mask will appear. Select Brush tool, Opacity 100% and
Color Balance to Red +95, Green +100% & blue -46 Select.
Skin Dos and Burn:
Press Ctrl + Shift + N and a new layer tab will come from here Mood-soft light and tick the box below. Select Burn Tool & Paint Dock Area After 30% of dodge tool-opacity will be used to screen skin.