Photo restoration key
Photo restoration is a process to bring back any old image to its previous position. It is to fix the broken parts,different types of dust and scratches in an old photo. In other words, the restoration is restored. Recovering the broken part of a photo or photograph is Photo Restoration.
Can anyone make photo restoration?
Photo Restoration can be done by anyone who has a good experience with the photo- restoration software. Before restoring a photo, remember that the previous location of this photo was and how it works, the brick will be fitted in the previous position. One of the most popular software for photo restoration is “Photoshop”. Not only restoration can be done with Photoshop, but this software is also very popular for any image or other photo editing. You can use any cheap software on your computer to restart any normal photo. However, you must be a professional in order to restructure the complex and difficult photos.
What types of photos are restored?
Old family photos are in the main list. Old family photos are mostly restored. To recall the memory of their family or remember their moments, their old picture is restored. It is then seen that a picture of a tree standing in front of the house has been destroyed and the rest is restored. The image of a dog or a celebrated animal is broken down, such images are restored and even more such images are restored.
Photo restoration variations
There are different types of photo restorations:
— Black and white photo restoration
— Color photos restoration
— Restoration of the missing part of the photo
— Restoration of damage photos
— Fixing photo
Black and white photo restoration
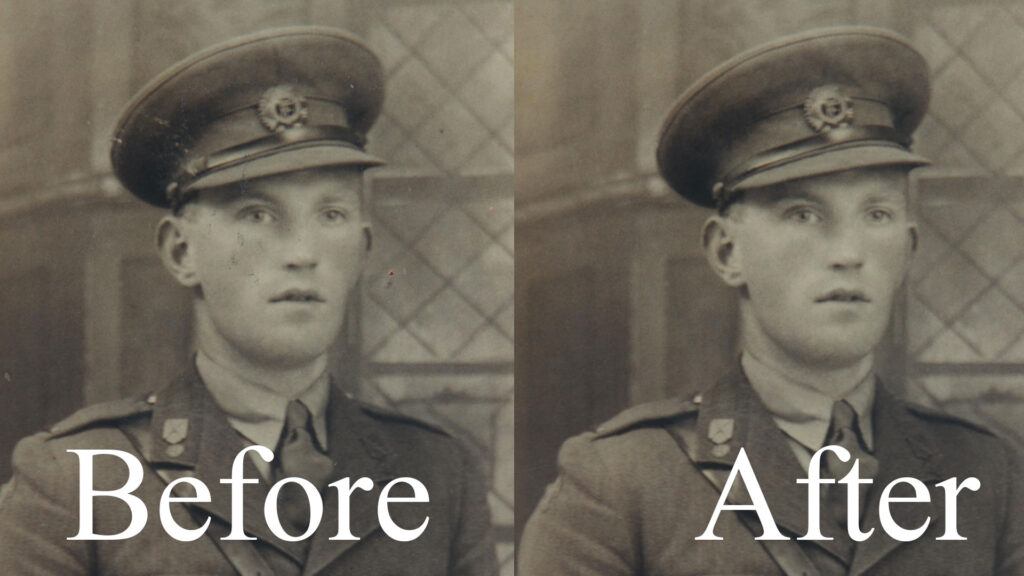
The black and white picture restoration is that when the picture was taken, the image was black and white, due to the fact that it was too old, black and white changed the color of the image and took another color and filled with various types of dust and scratch. Such a picture is said to rest black-white pictures.
Color photos restoration
The color picture is restored, making colored pictures from white-black pictures to color resorts or photo re-colors. It is better to scan the image by creating high-resolution images for black and white colored images.
Restoration of the missing part of the photo
One of the pictures are broken or disappeared. Such a photo restoration is called the missing part restoration of the film.
Restoration of damage photos
The color of the picture is restored, making colored pictures from black and white pictures to re-color. It is better to scan the image by creating high-resolution images for white-black colored images.
Fixing photo
Photo fixing is a part of the photo that has been damaged or broken or not seen. Photo fixing is the name of a new section in such a place.
How to Restore an Old Photo in Photoshop
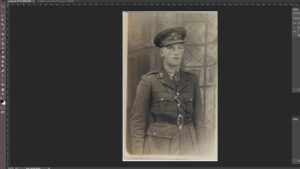
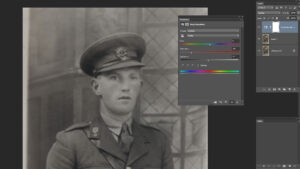
Following some methods, you can do basic photo restoration.Details are given below with photographs.First you must open Photoshop that will restart Photoshop will open in Photoshop.
Then crop some parts of the picture so that no visible border of the scanner can be seen in the picture. To crop, press E from the keyboard.
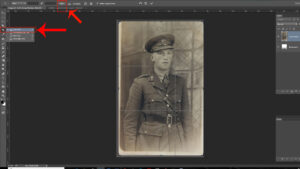
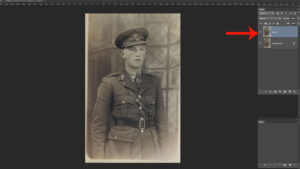
Before setting crop, make some settings. Click on the button from the top bar and click on the left side for weight and height.The rest will need to be cropped as much as necessary. To copy a layer by pressing Ctrl+J, we will remove various types of dust and scans in the layer. The purpose of copying the layer is to ensure that after effect and after effect.
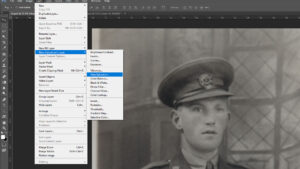
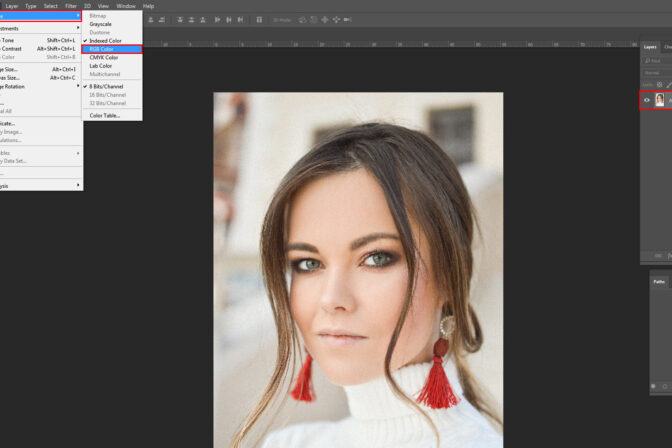
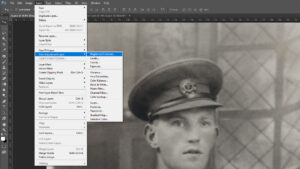
After selecting, a color dialog box will appear. From the dialog box there will be a master selection. From here, Hue- 0, Saturation- 64 & Lightness- 5 are removed from the film if it is red or yellow, then it will be removed and turn the image into white-black
Again, we will select from menu to Layer>New Adjustment Layer>Brightness/Contrast
After selecting brightness/contrast for image retouching we will select brightness and increase to 20 and contrast increasing to 27 as well. Therefore we can see the image is shinier. This looks quite a lot of shows. But little brighter. Follow the next method to shine.

We need to press Ctrl + Alt + Shift + E to create a new layer.
Select the new layer and press Ctrl+Shift+A or use Filter>Camera Raw
After opening the Camera Raw the Exposure is +0.10%, Blacks- -33%, Clarity- +30%, Vibrance- -25% and the click OK.

Now check the image.This way images can be restored.